Follow the instructions below to add a web form to your landing page, web page or blog post inside of REI BlackBook.
You may also follow these step-by-step instructions below to learn how to add an Opt-in Pop-up to your Landing Page.
- Go to the page you wish to add web form to.
- Landing Page
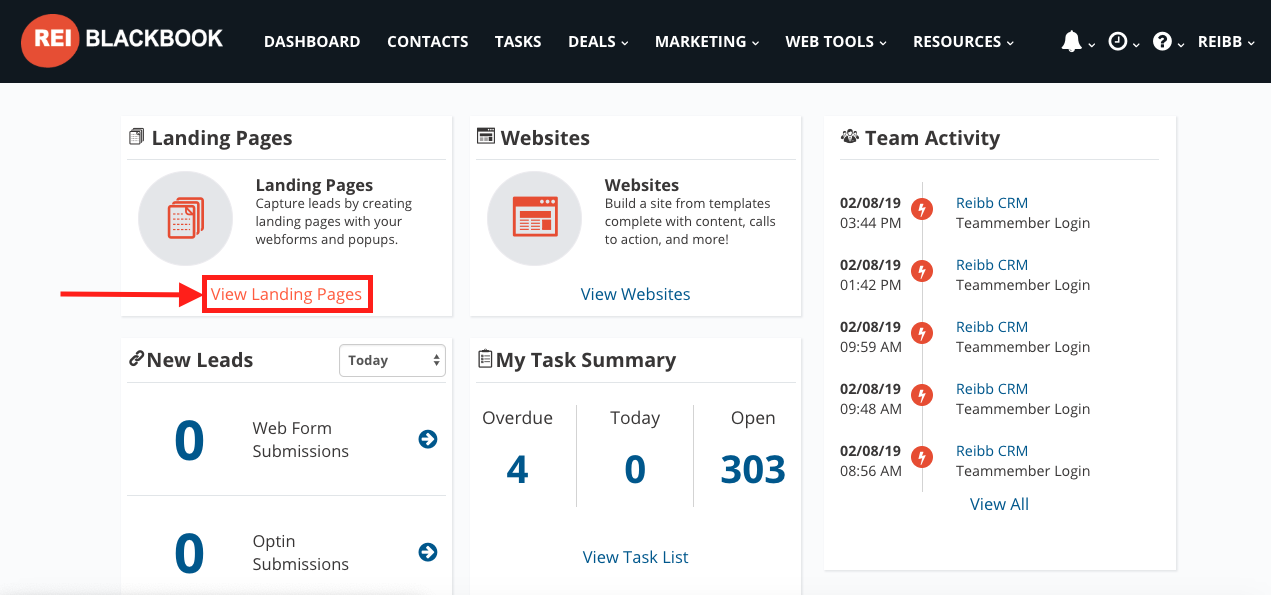
- From your account's Dashboard click on View Landing Pages
- Click on the name of the Landing Page you wish to edit.

- From your account's Dashboard click on View Landing Pages
- Web page
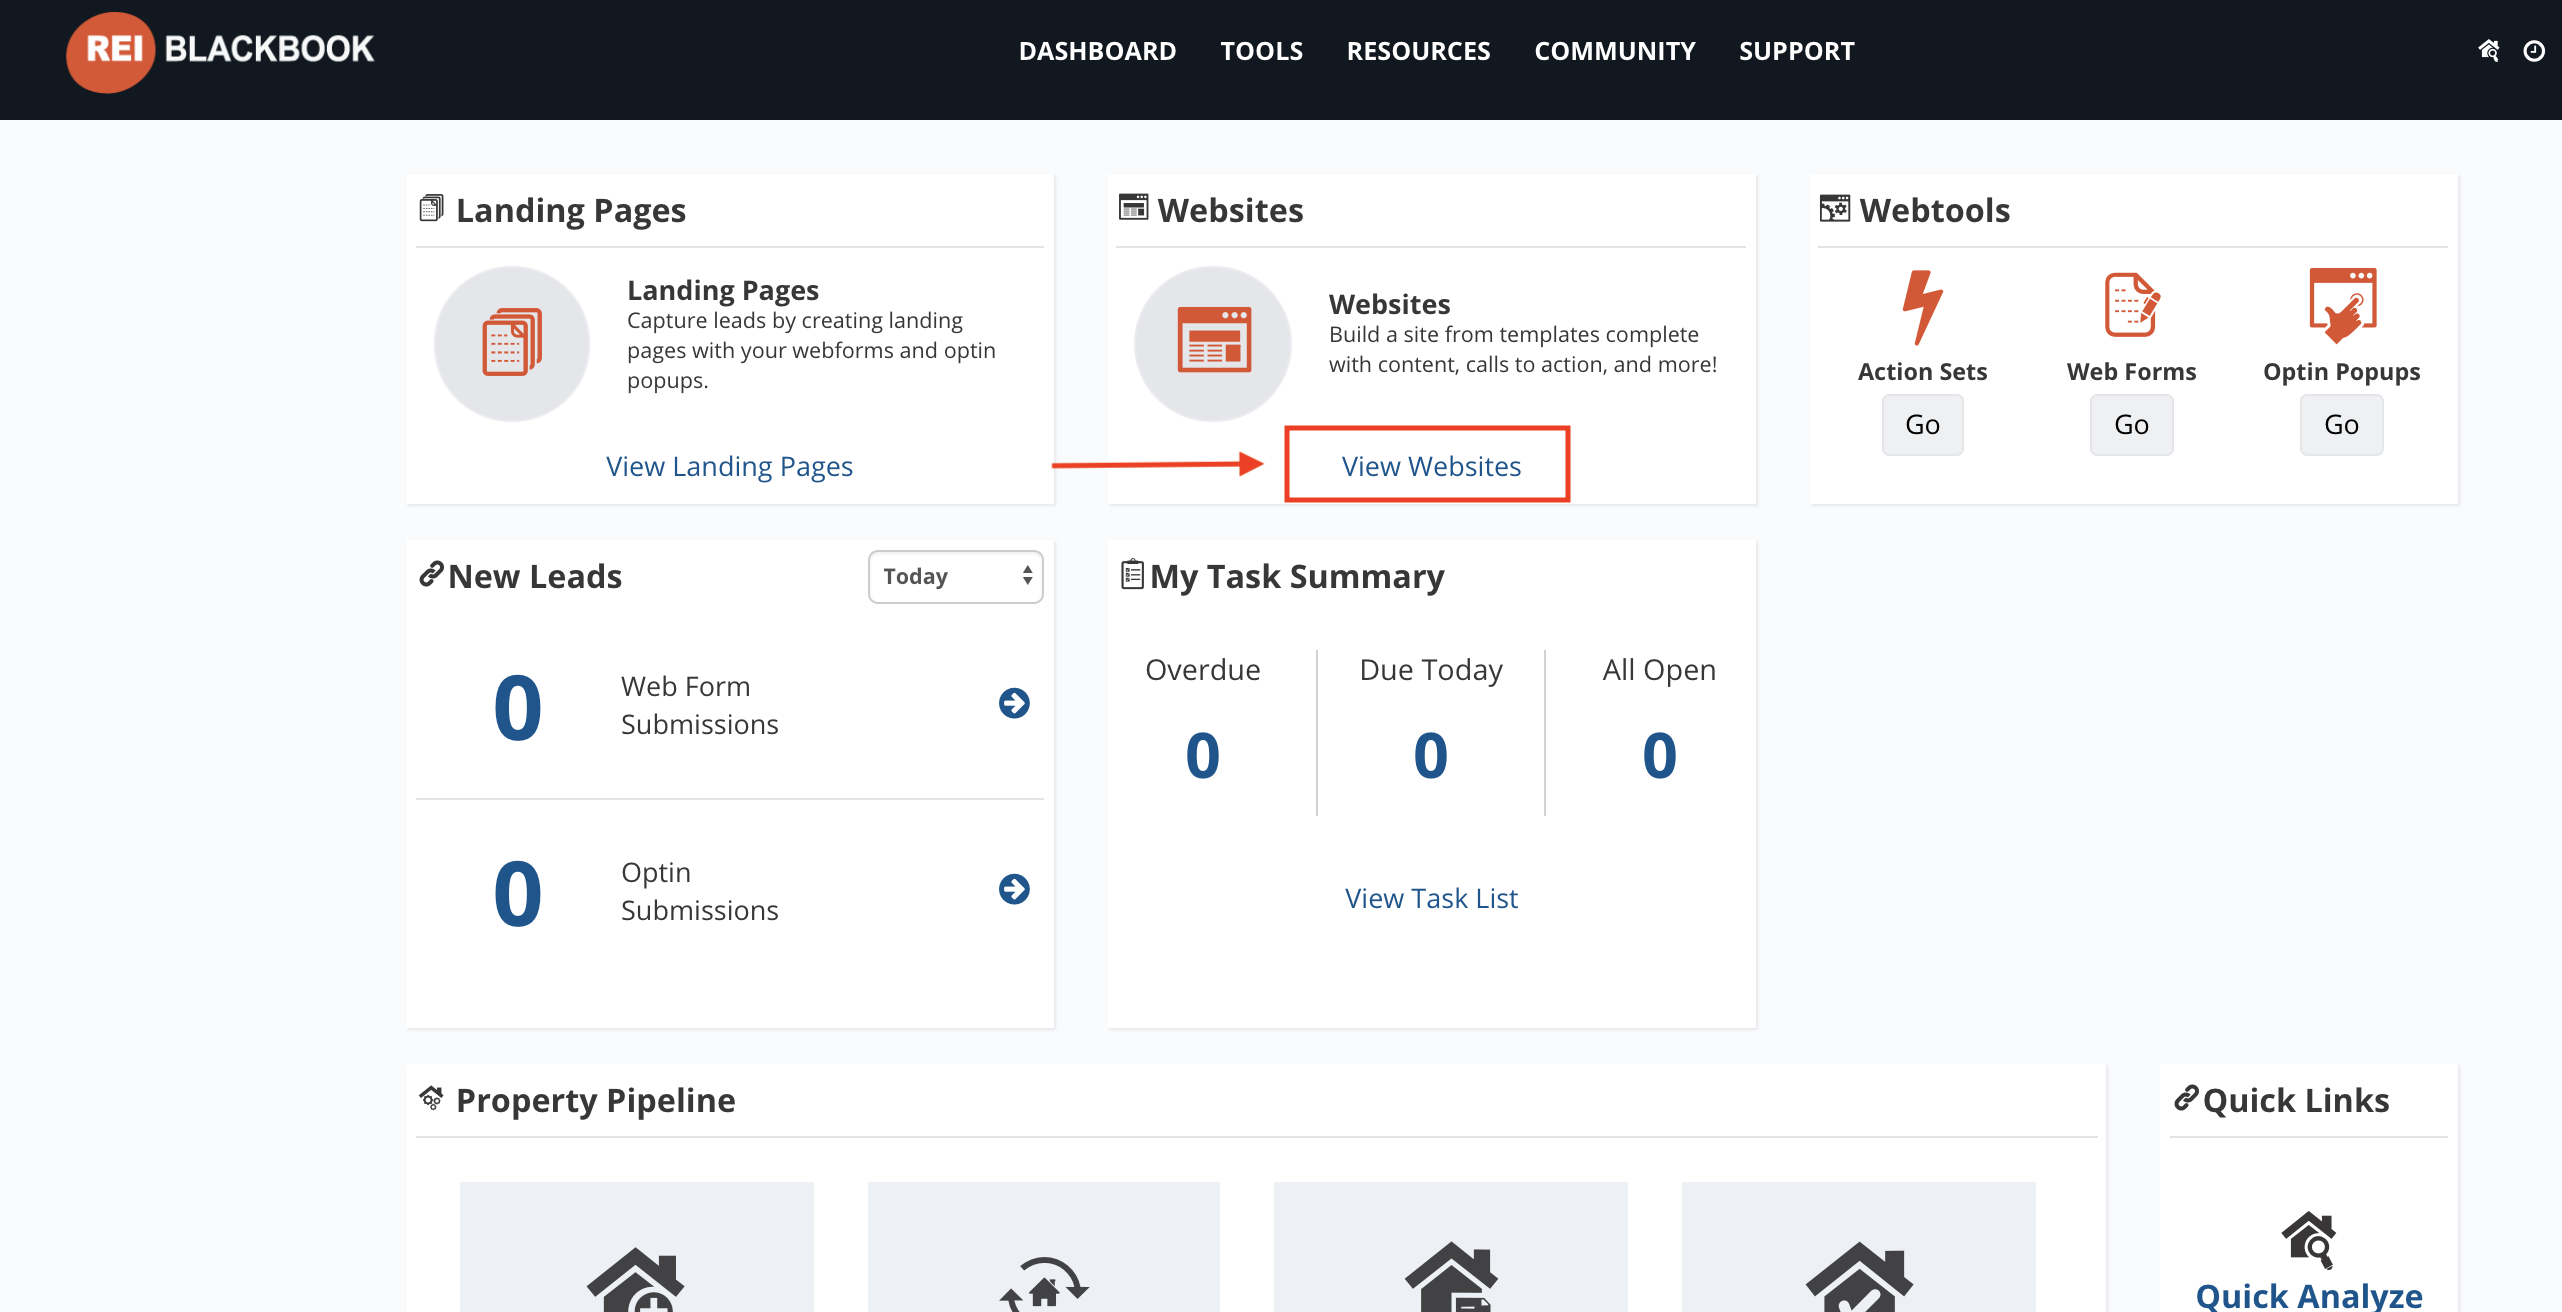
- From your account's Dashboard, click on ViewWebsites.
- Click on the Site Builder button and browse through the website to get to the page that you wish to edit.

- From your account's Dashboard, click on ViewWebsites.
- Blog Post
- From your account's Dashboard, click on ViewWebsites.
- Click on the Blog Posts button of the website you wish to edit.
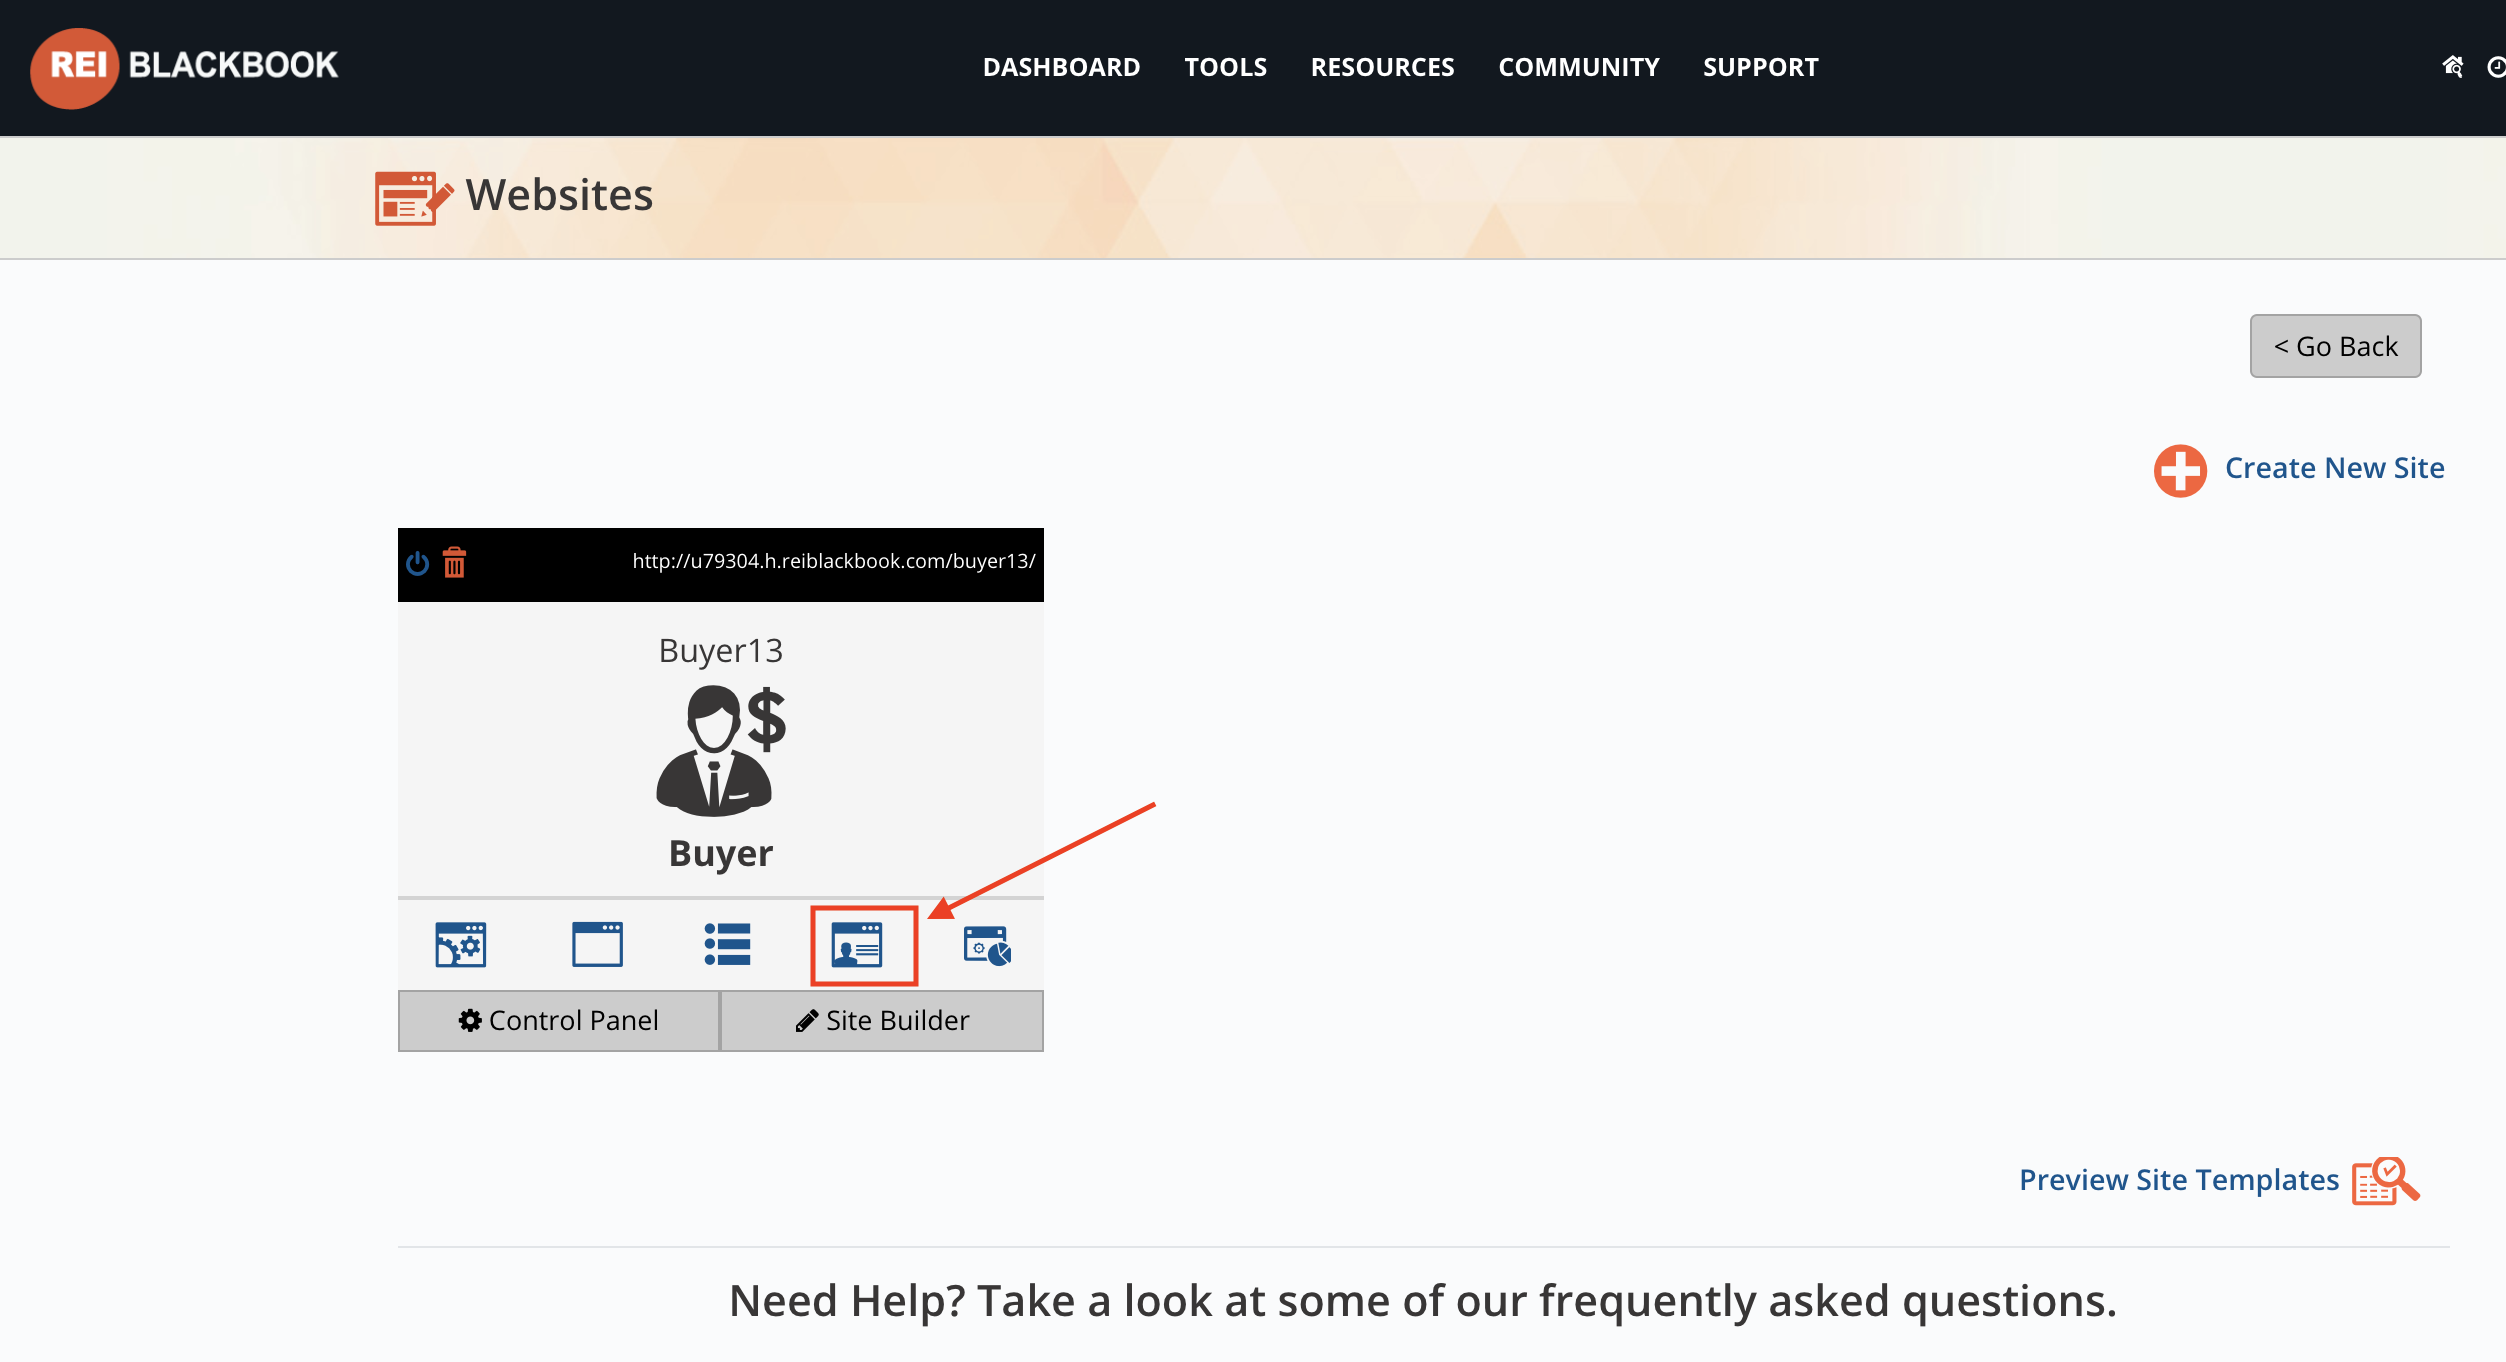
- Select the blog post.

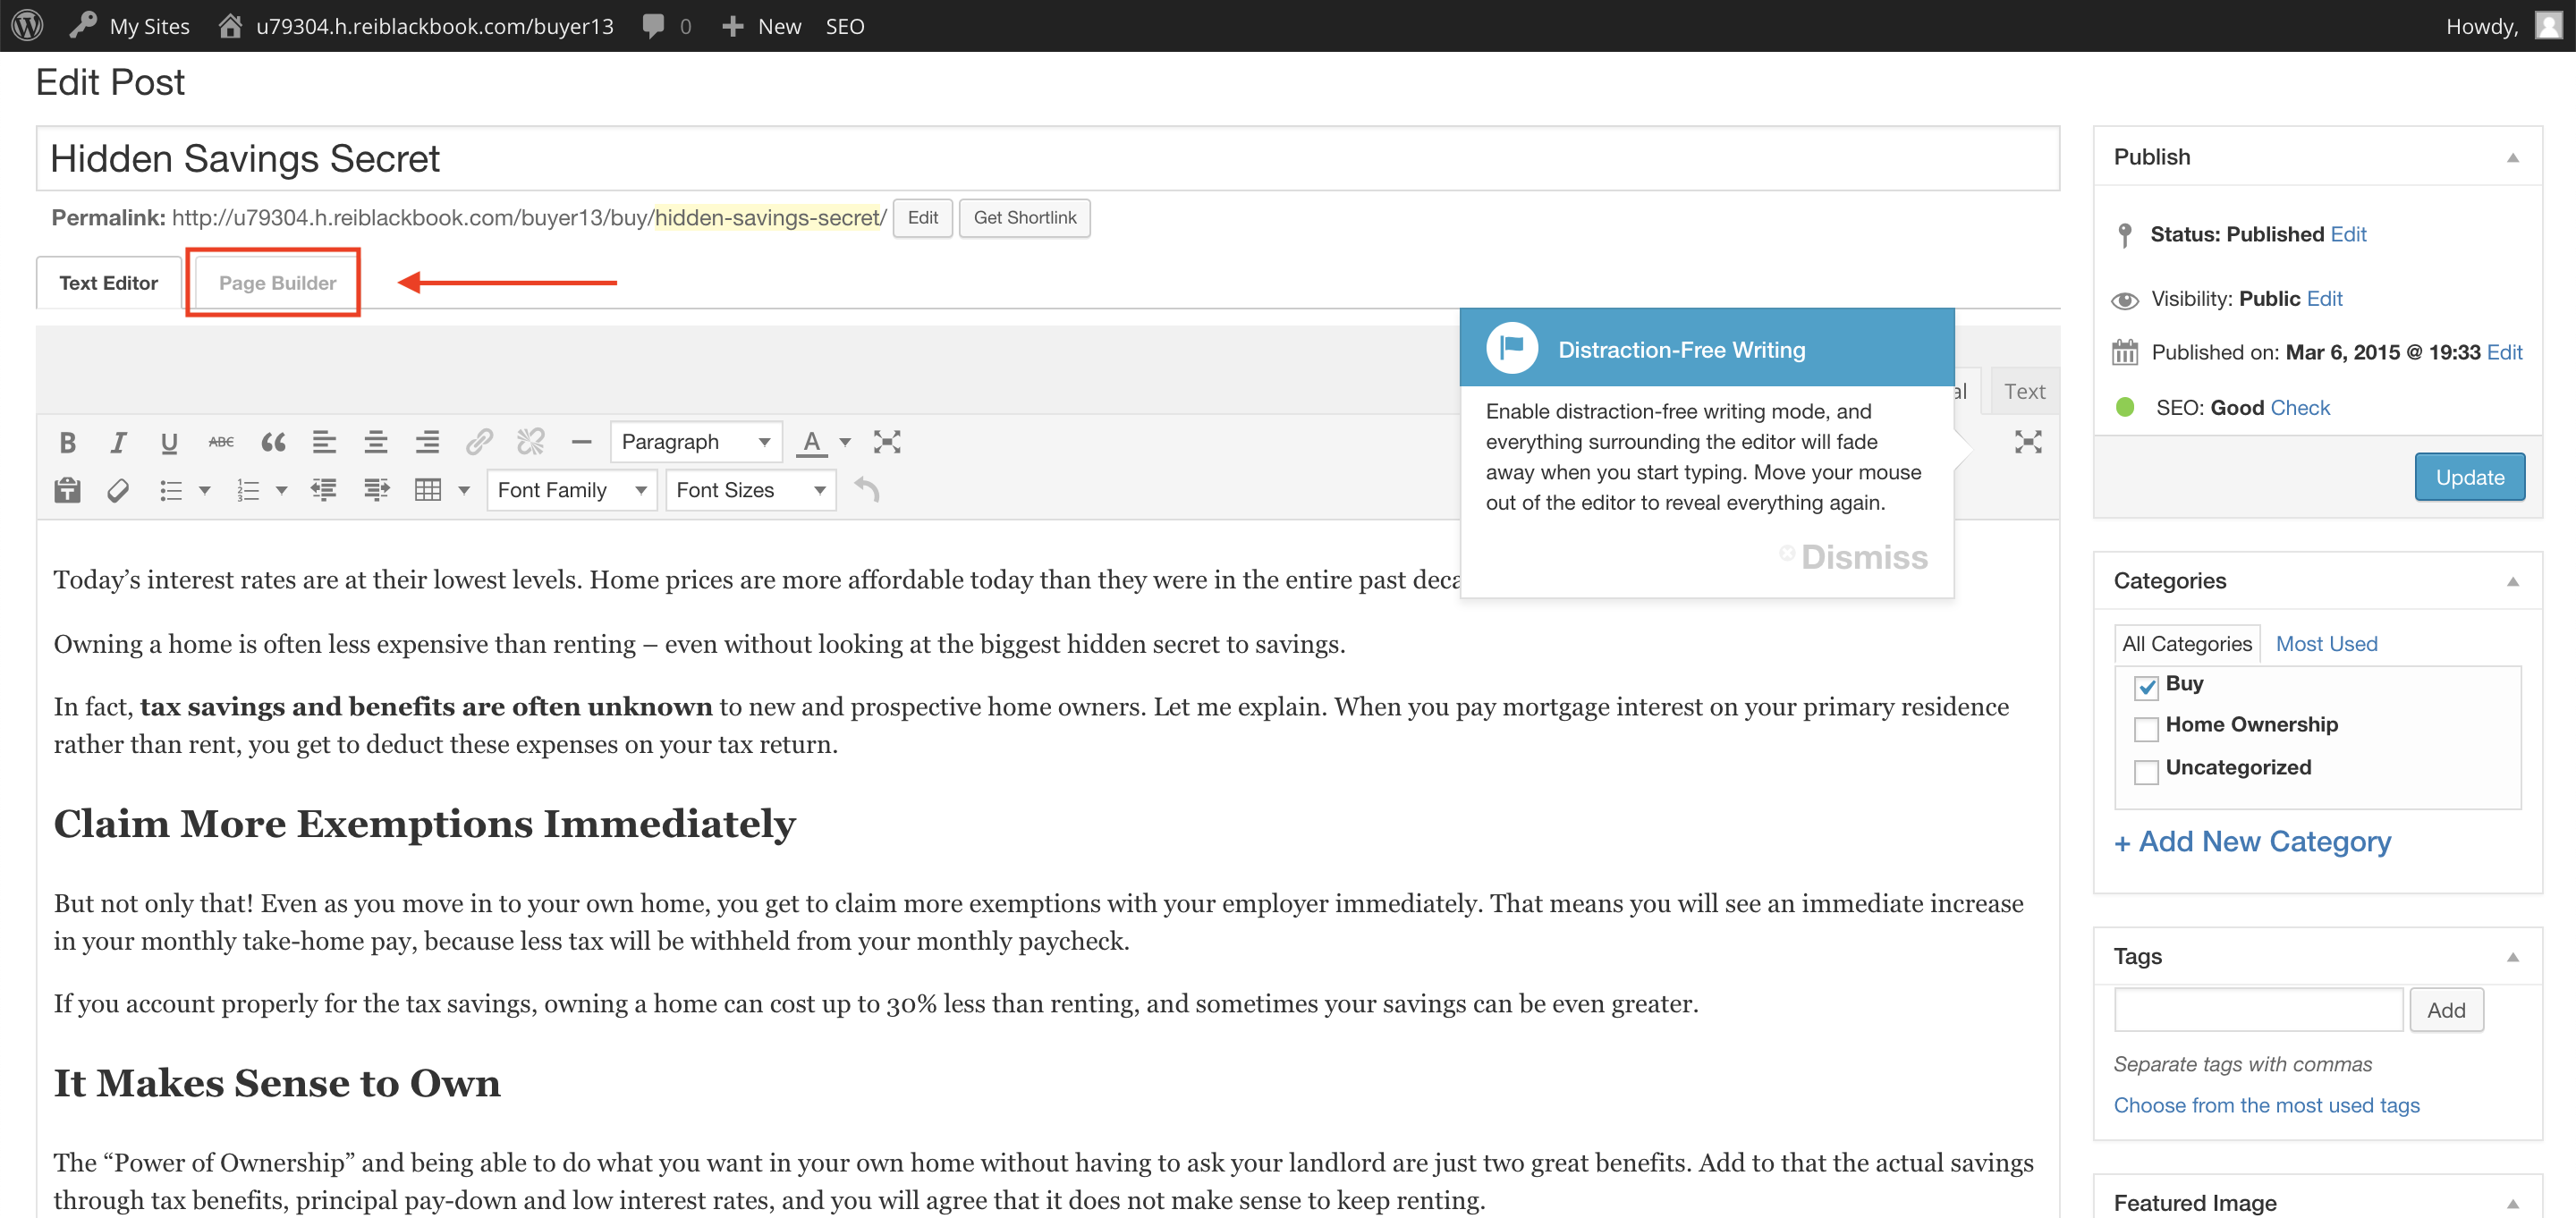
- Click on Page Builder tab.
- From your account's Dashboard, click on ViewWebsites.
- Landing Page
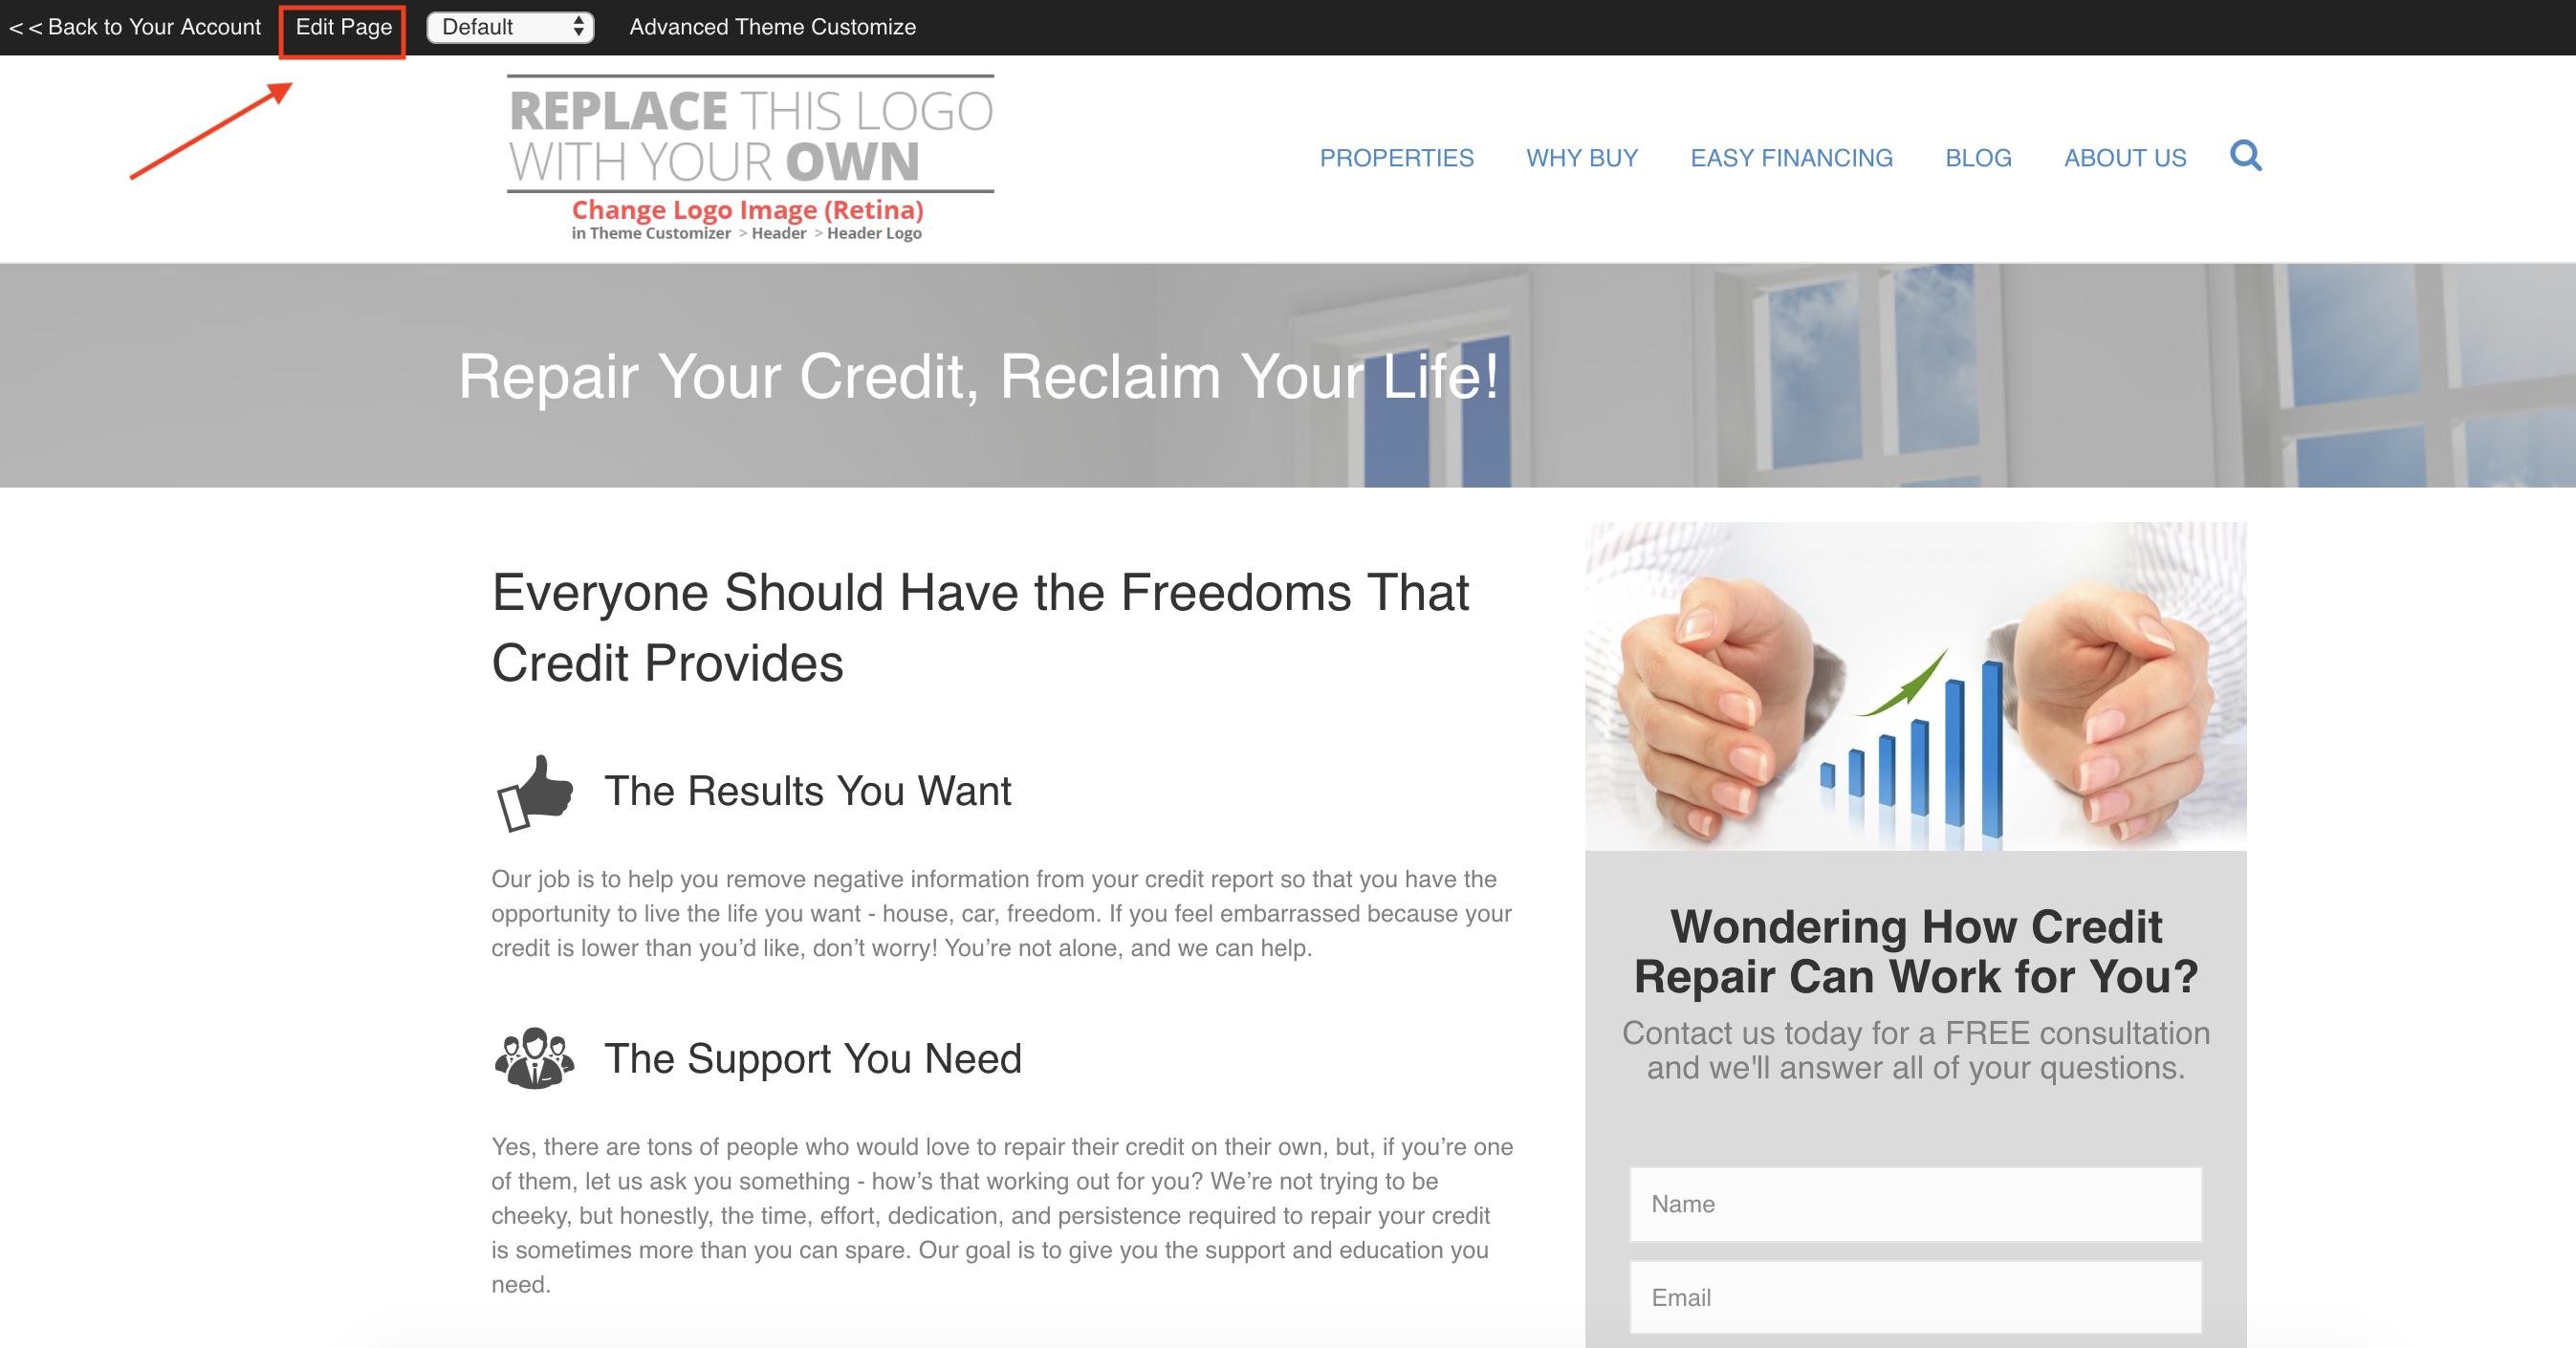
- Click on the EditPage at the top menu bar.
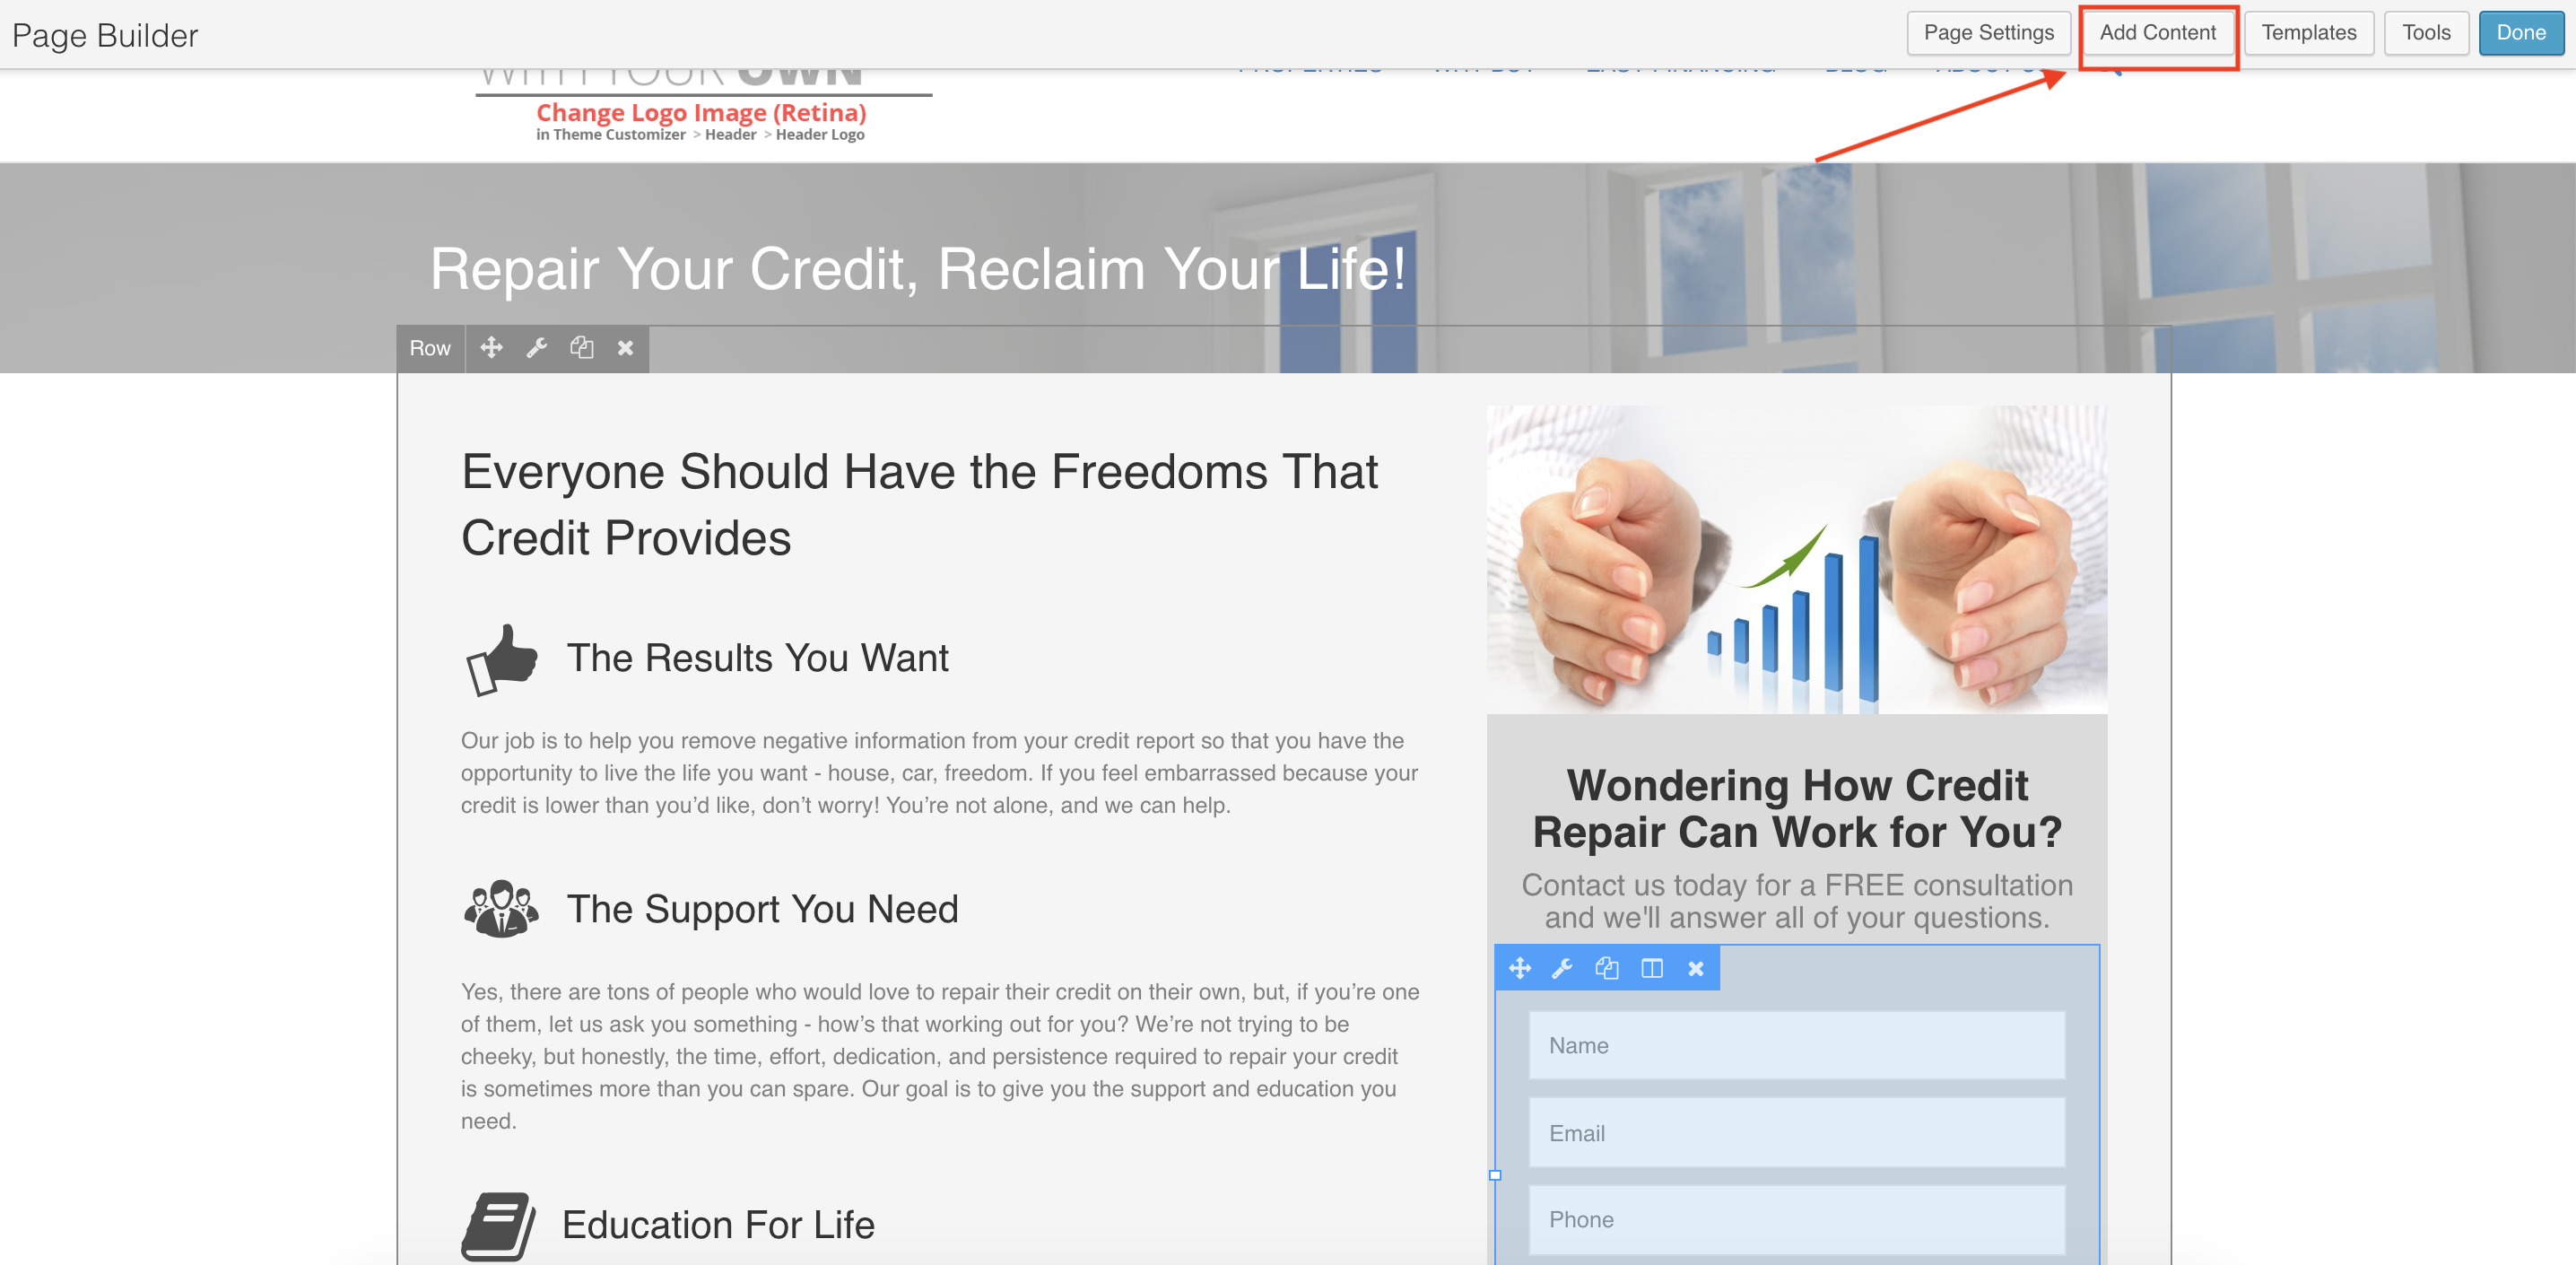
- Click on Add Content.
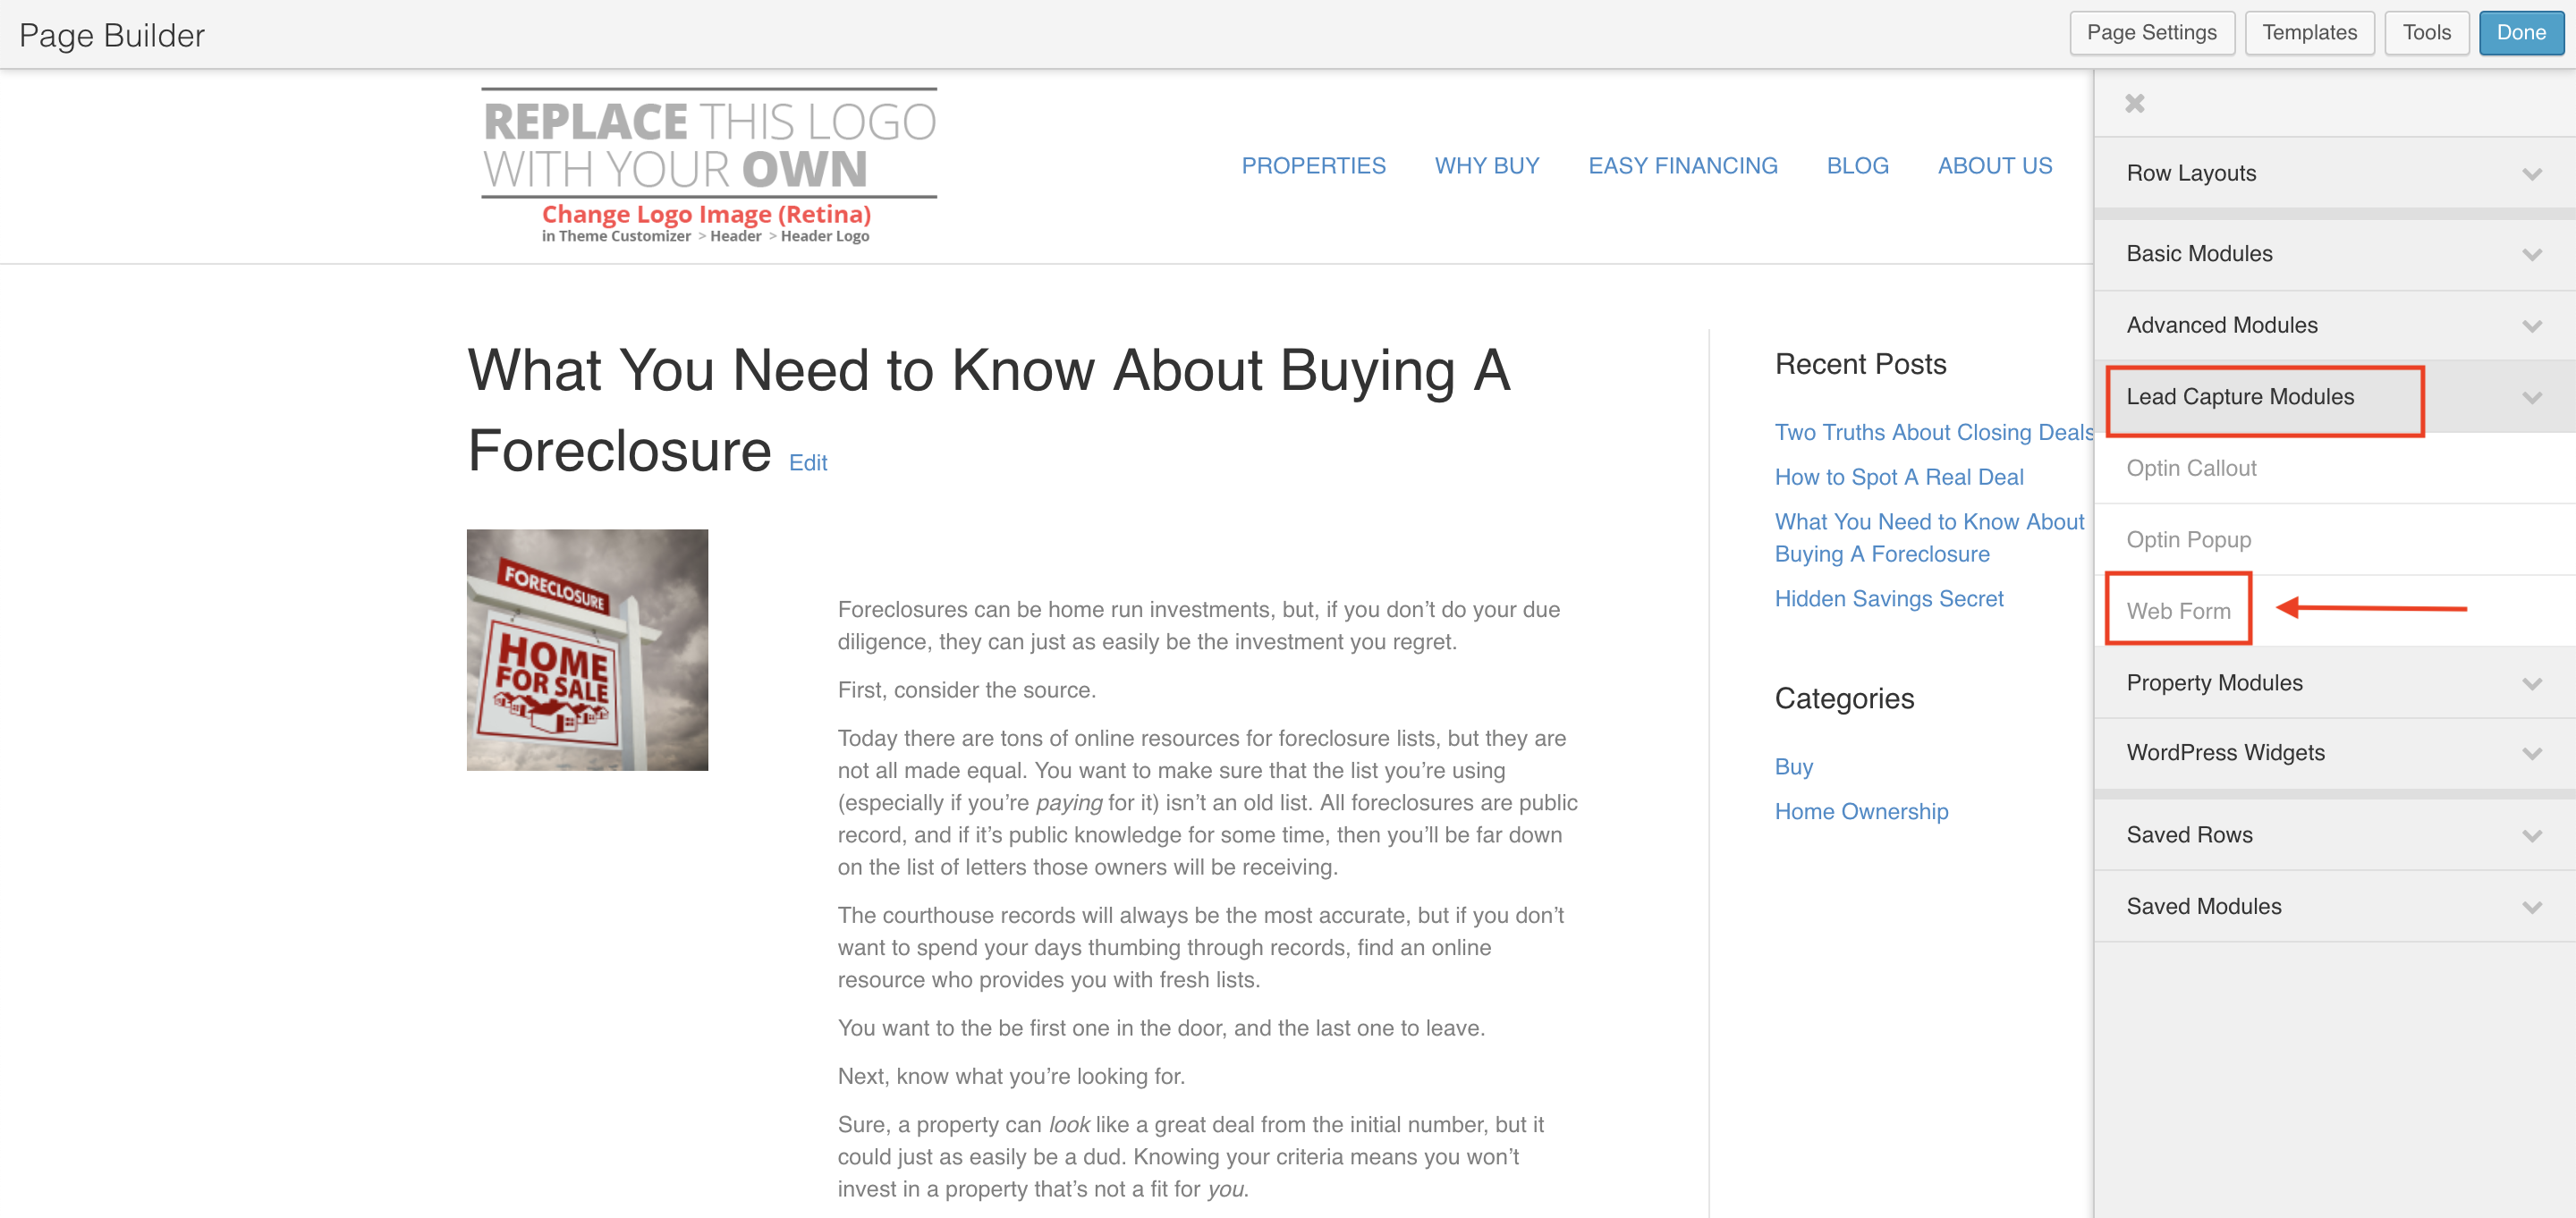
- Select Lead Capture Module then drag and drop Web Form module to desired location.
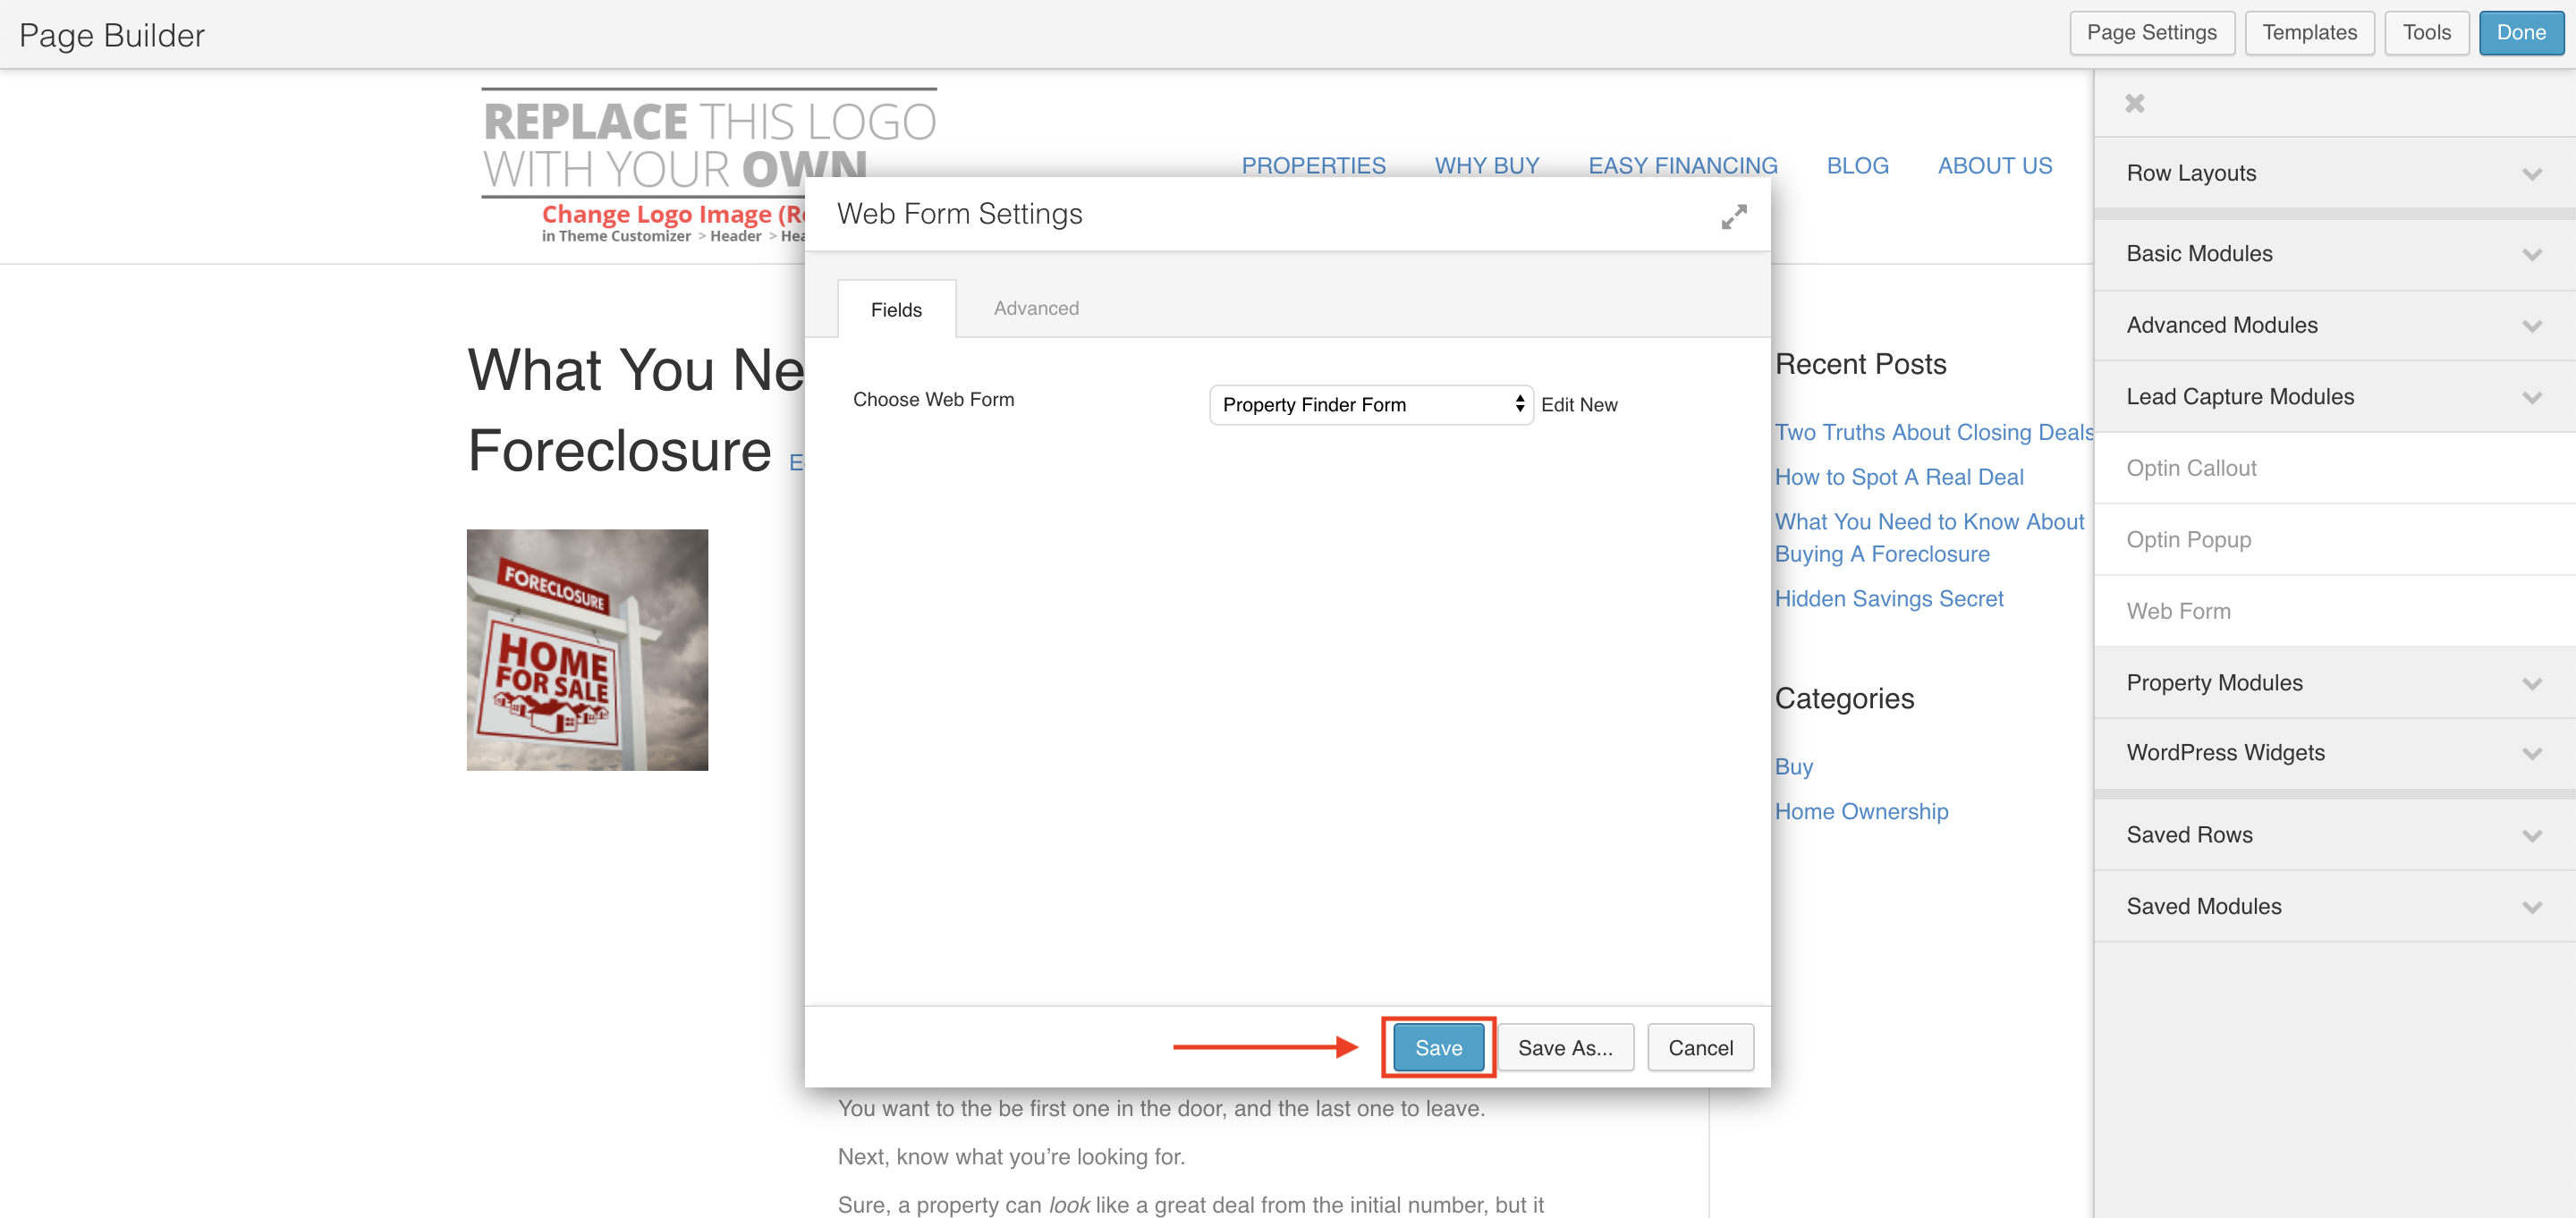
- On the Web Form Settings, under Fields tab, select the web form you wish to use under the drop down menu.

- Click on Save.
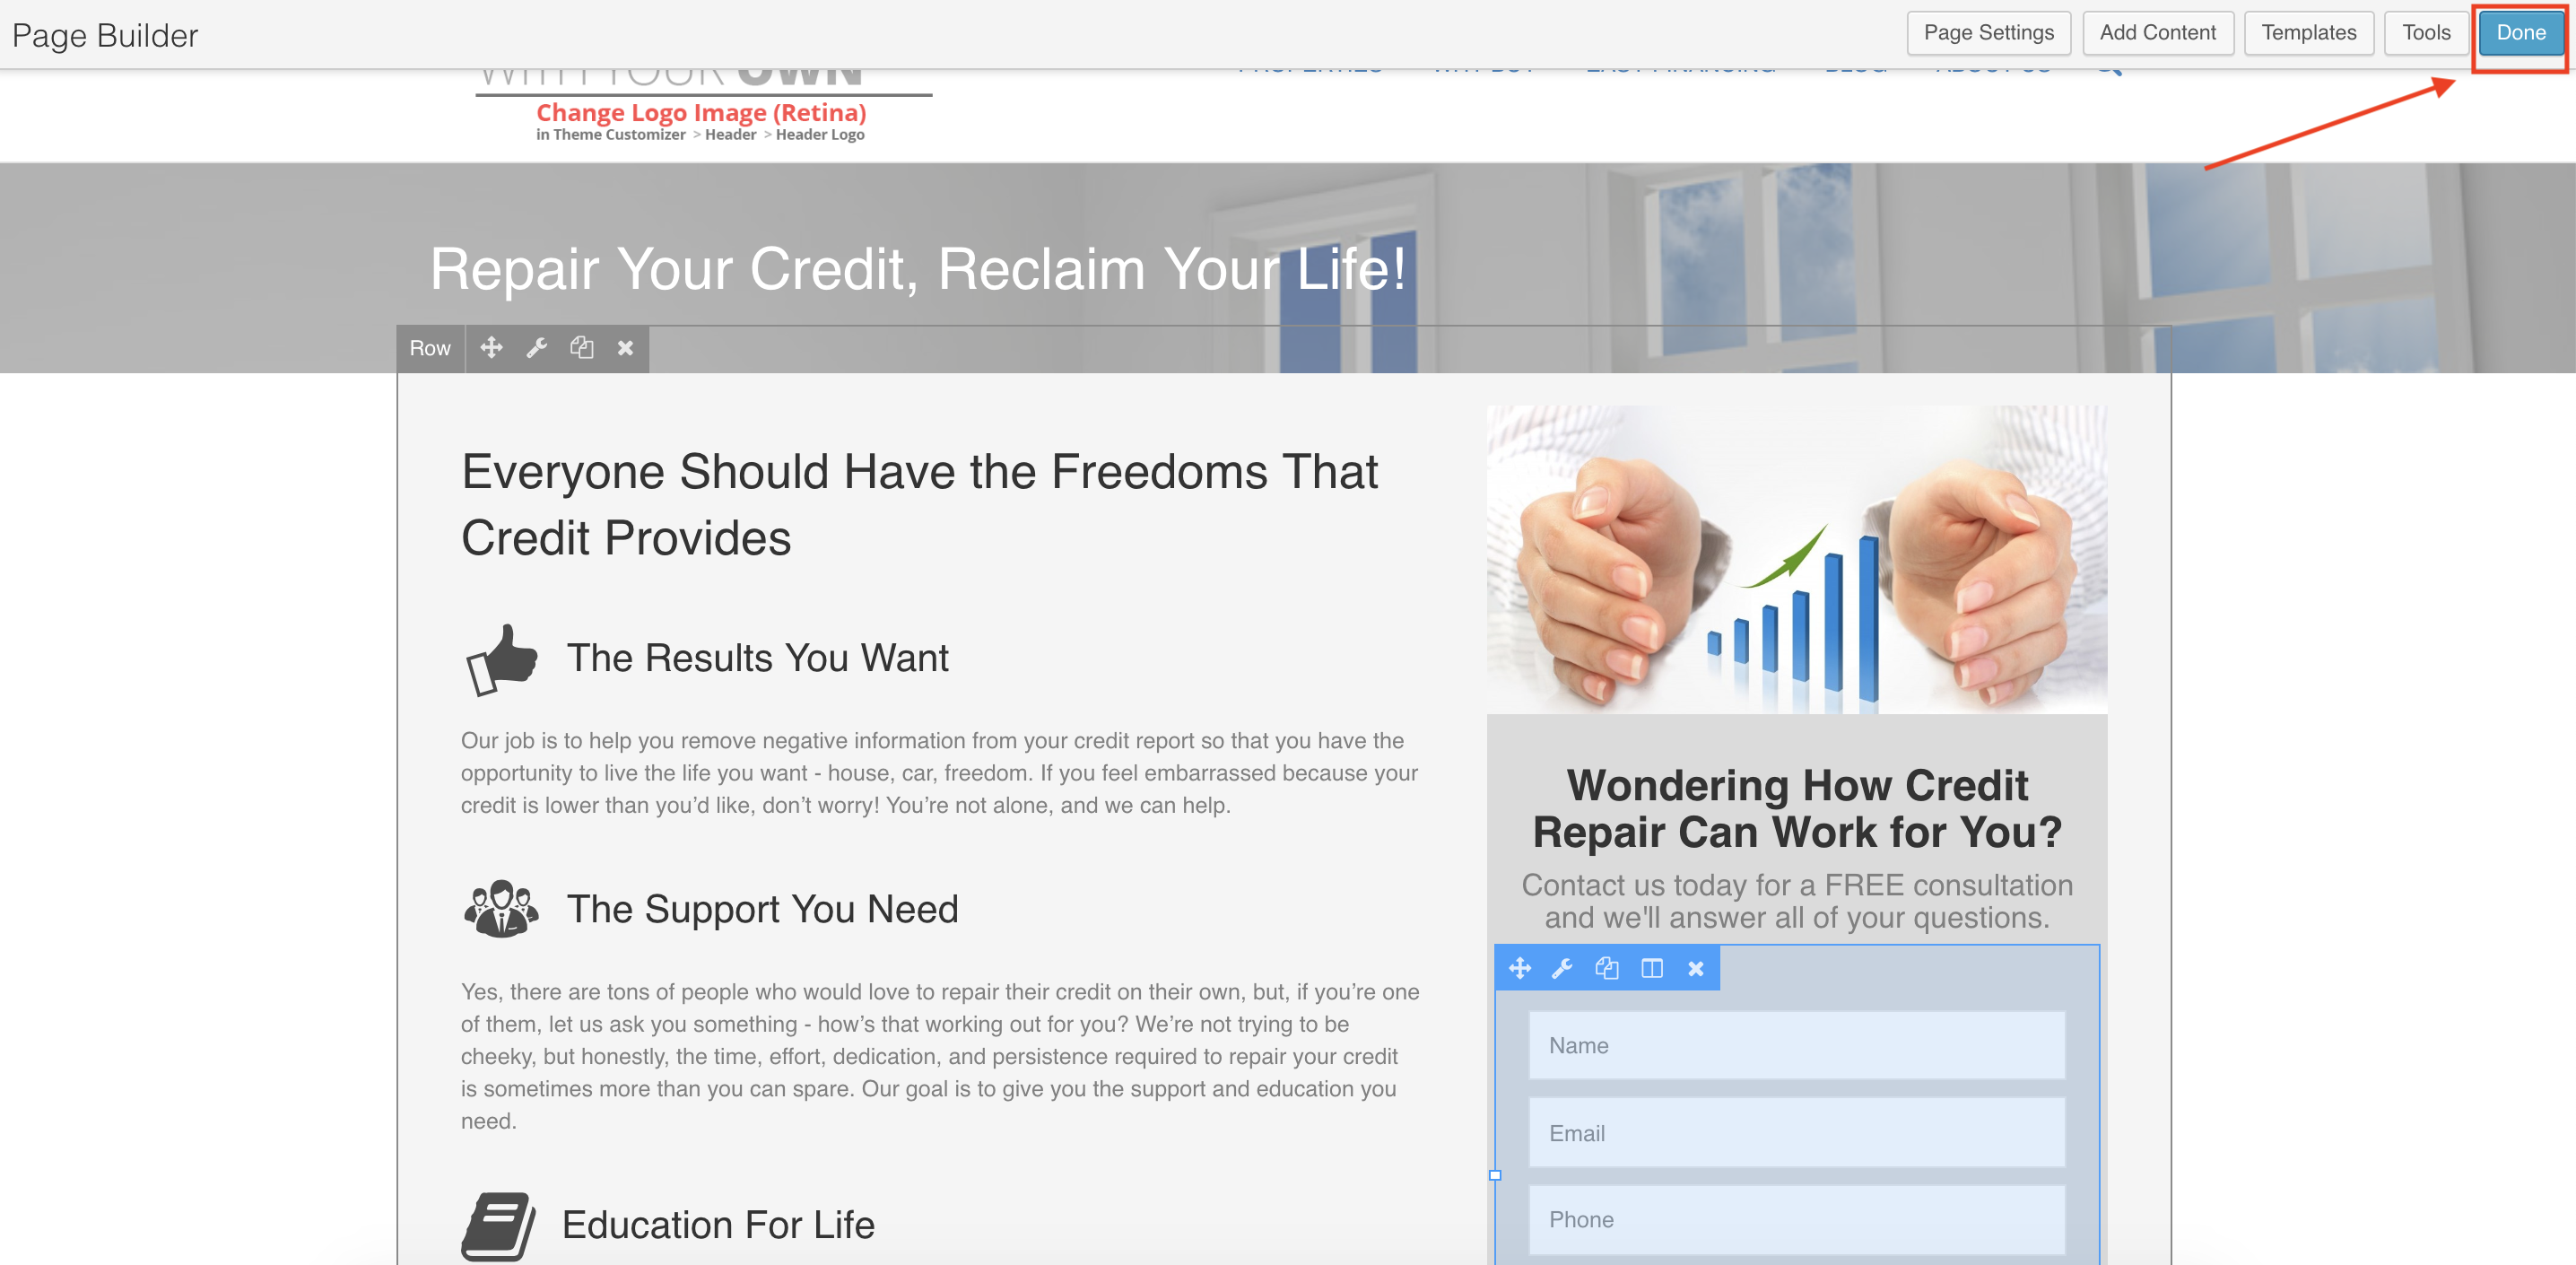
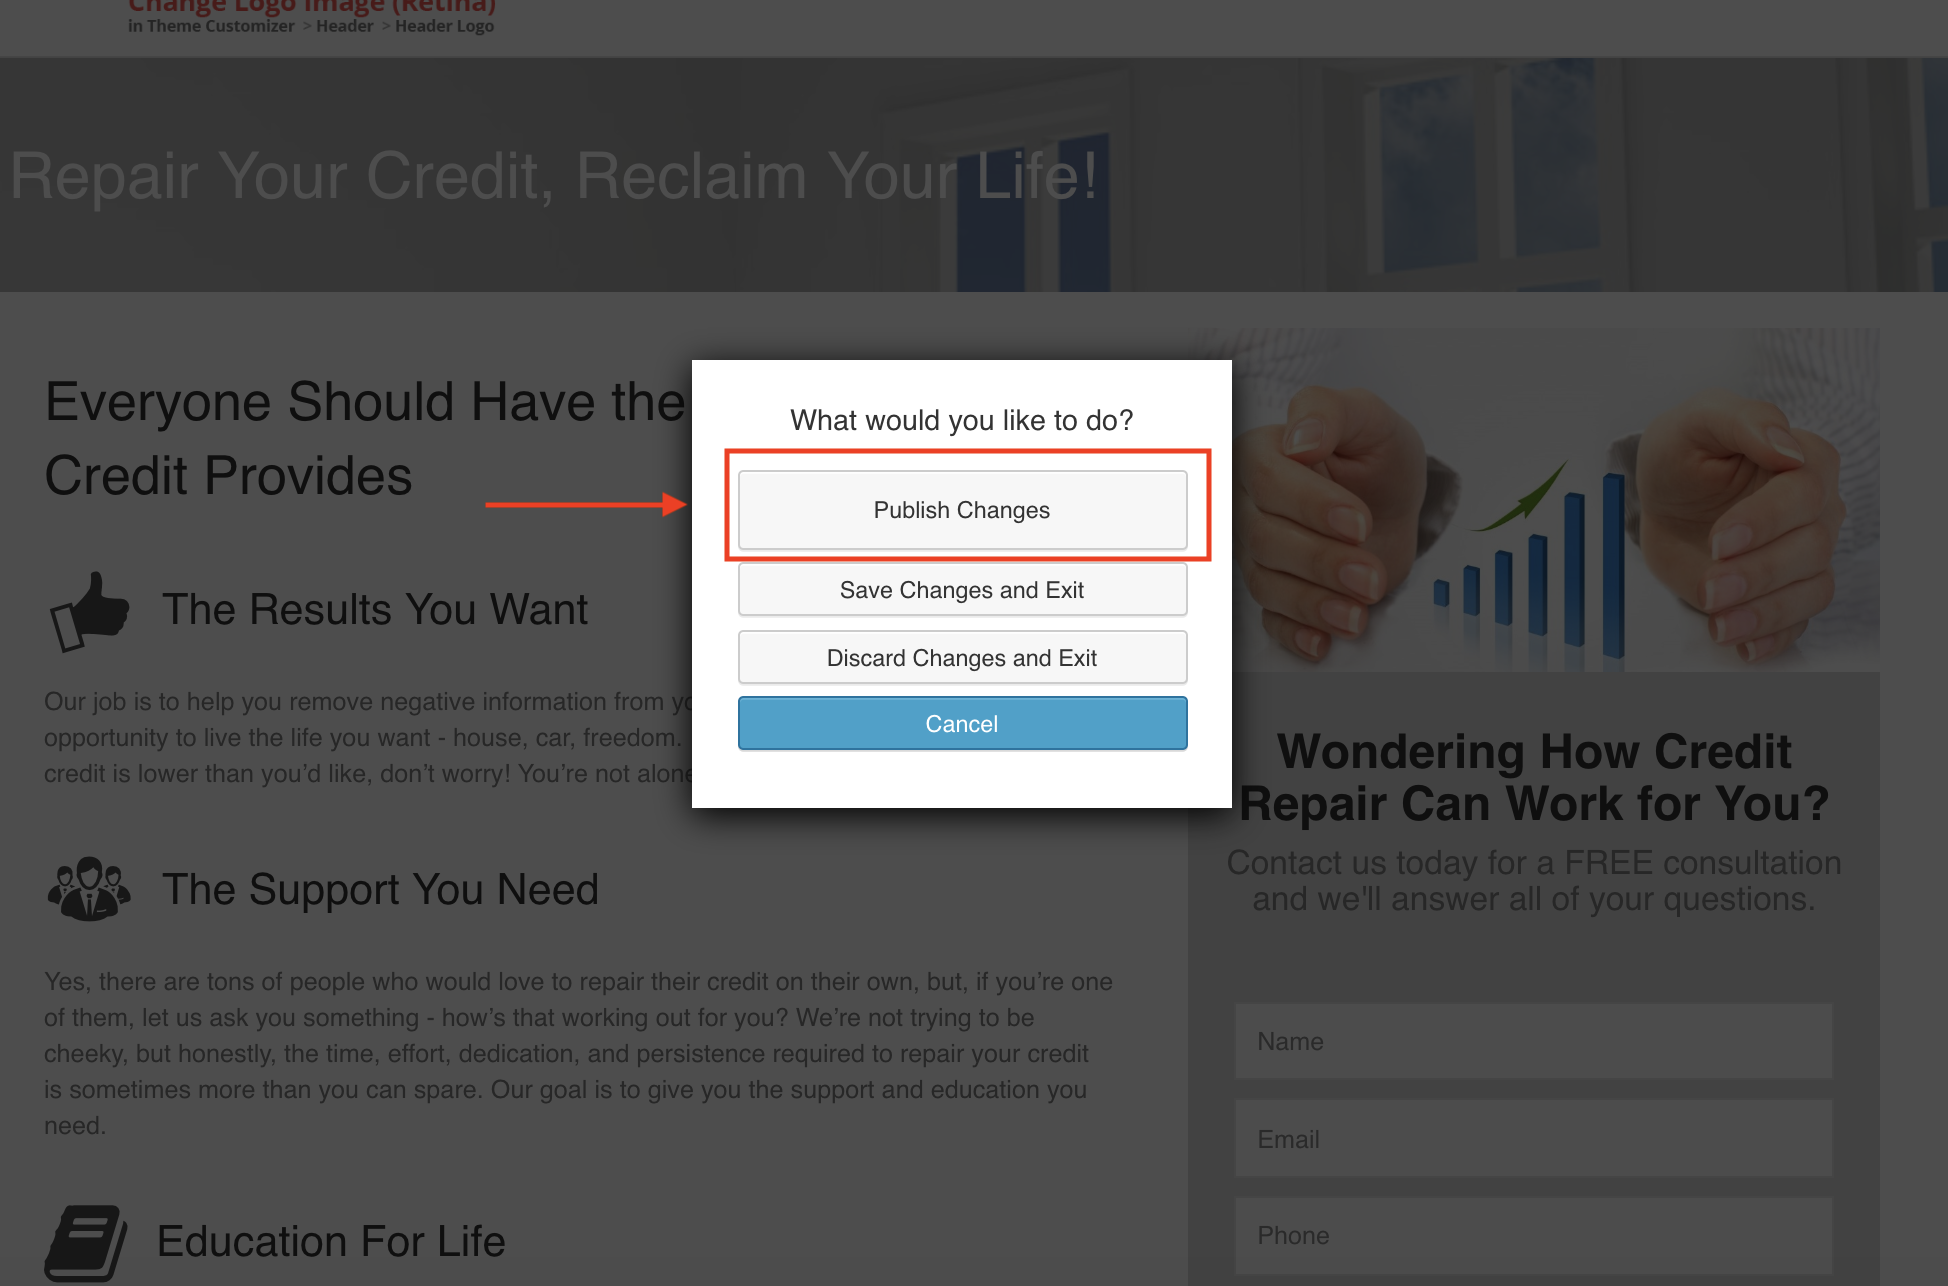
- Click on Done and Publish Changes on the Landing Page/Webpage/Blog post.
Note: You can edit the settings of this web form by clicking on the wrench icon. Any changes made on this web form, will reflect on all pages where this web form is published.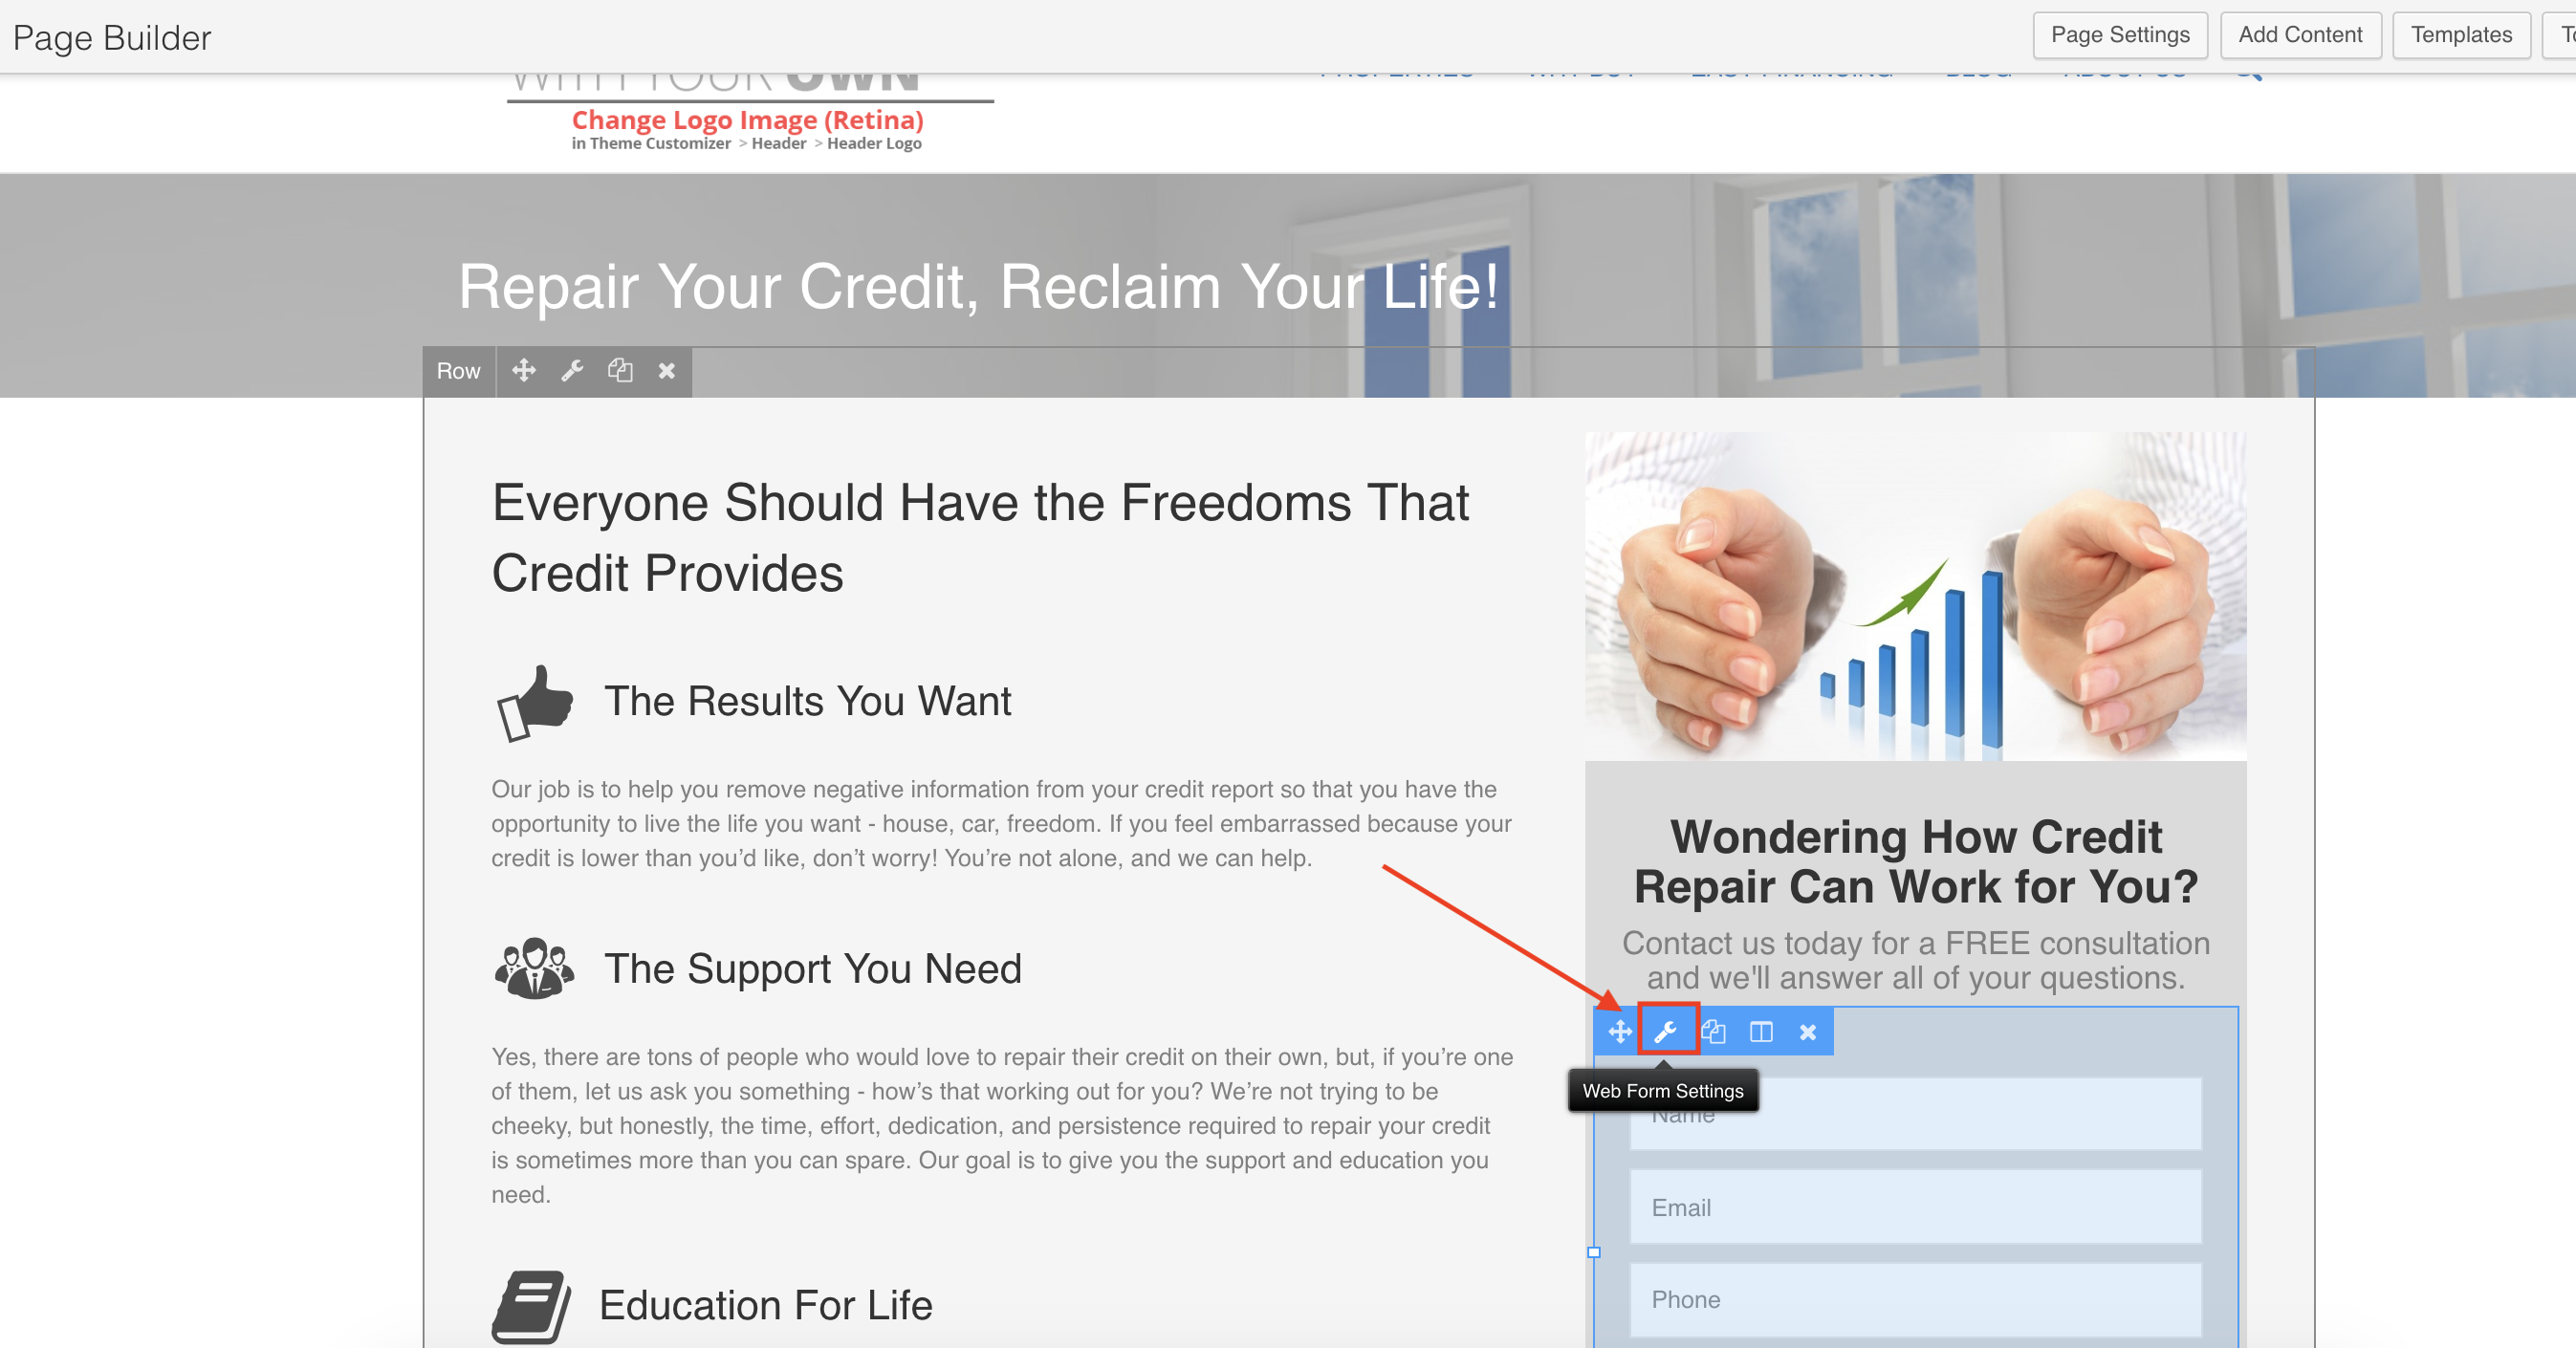
You have now added a web form to your landing page/web page/blog post. For further questions, please reach out to support team at support@reiblackbook.com.